How To Run Krill Behind an NGINX Reverse Proxy
Although Krill has a built-in HTTPS server, it may be desirable to run a production grade webserver as a reverse proxy in front of Krill. This allows easy TLS configuration and additional restrictions, if desired.

By Alex Band
Krill offers a user interface and an API over HTTPS only, for which it will generate a self-signed certificate when it is first started. Replacing the self-signed certificate with a TLS certificate issued by a CA works, but has not been tested extensively. So if you need to access Krill from another machine, it is recommended to set up a production grade webserver as a reverse proxy. This will also offer integration with TLS solutions such as Certbot and allow you to apply further limitations, such as IP based restrictions, the number of TCP connections, and more...
We'll be using a freshly installed Debian 10 Buster machine for this demo, with a DNS record "krill.example.net" pointing to it. Krill will be installed using the pre-built packages NLnet Labs offer and NGINX with Certbot will be used for the reverse proxy. The process should be largely similar for other platforms.
Install and Run Krill
The first step is to open /etc/apt/sources.list in your favourite text editor and add this line to refer to our package repository:
deb [arch=amd64] https://packages.nlnetlabs.nl/linux/debian/ buster mainNext, make sure gnupg is installed and then add the repository signing key to the listed of trusted keys:
sudo apt install gnupg
wget -qO- https://packages.nlnetlabs.nl/aptkey.asc | sudo apt-key add -
Now we have to update the package lists so that Krill is picked up from the newly added package repository. Then we can install it:
sudo apt update
sudo apt install krill
The installation process will automatically generate a configuration file located at /etc/krill.conf with a random authorisation token. You can review and make a note of it with this command, or you can edit the file and enter one of your own:
grep auth_token /etc/krill.confOnce you are happy with the settings you can instruct systemd to enable the Krill service at boot and to start it immediately:
sudo systemctl enable --now krillYou can verify if Krill is running properly with:
systemctl status krillIf you are using the defaults you can access the user interface in a browser on the server running Krill at https://localhost:3000. As Krill has generated a self-signed TLS certificate you will have to accept the security warning your browser presents, for now. If you want to access the user interface from another computer you can set up local port forwarding with SSH:
ssh -L 3000:localhost:3000 user@krill.example.net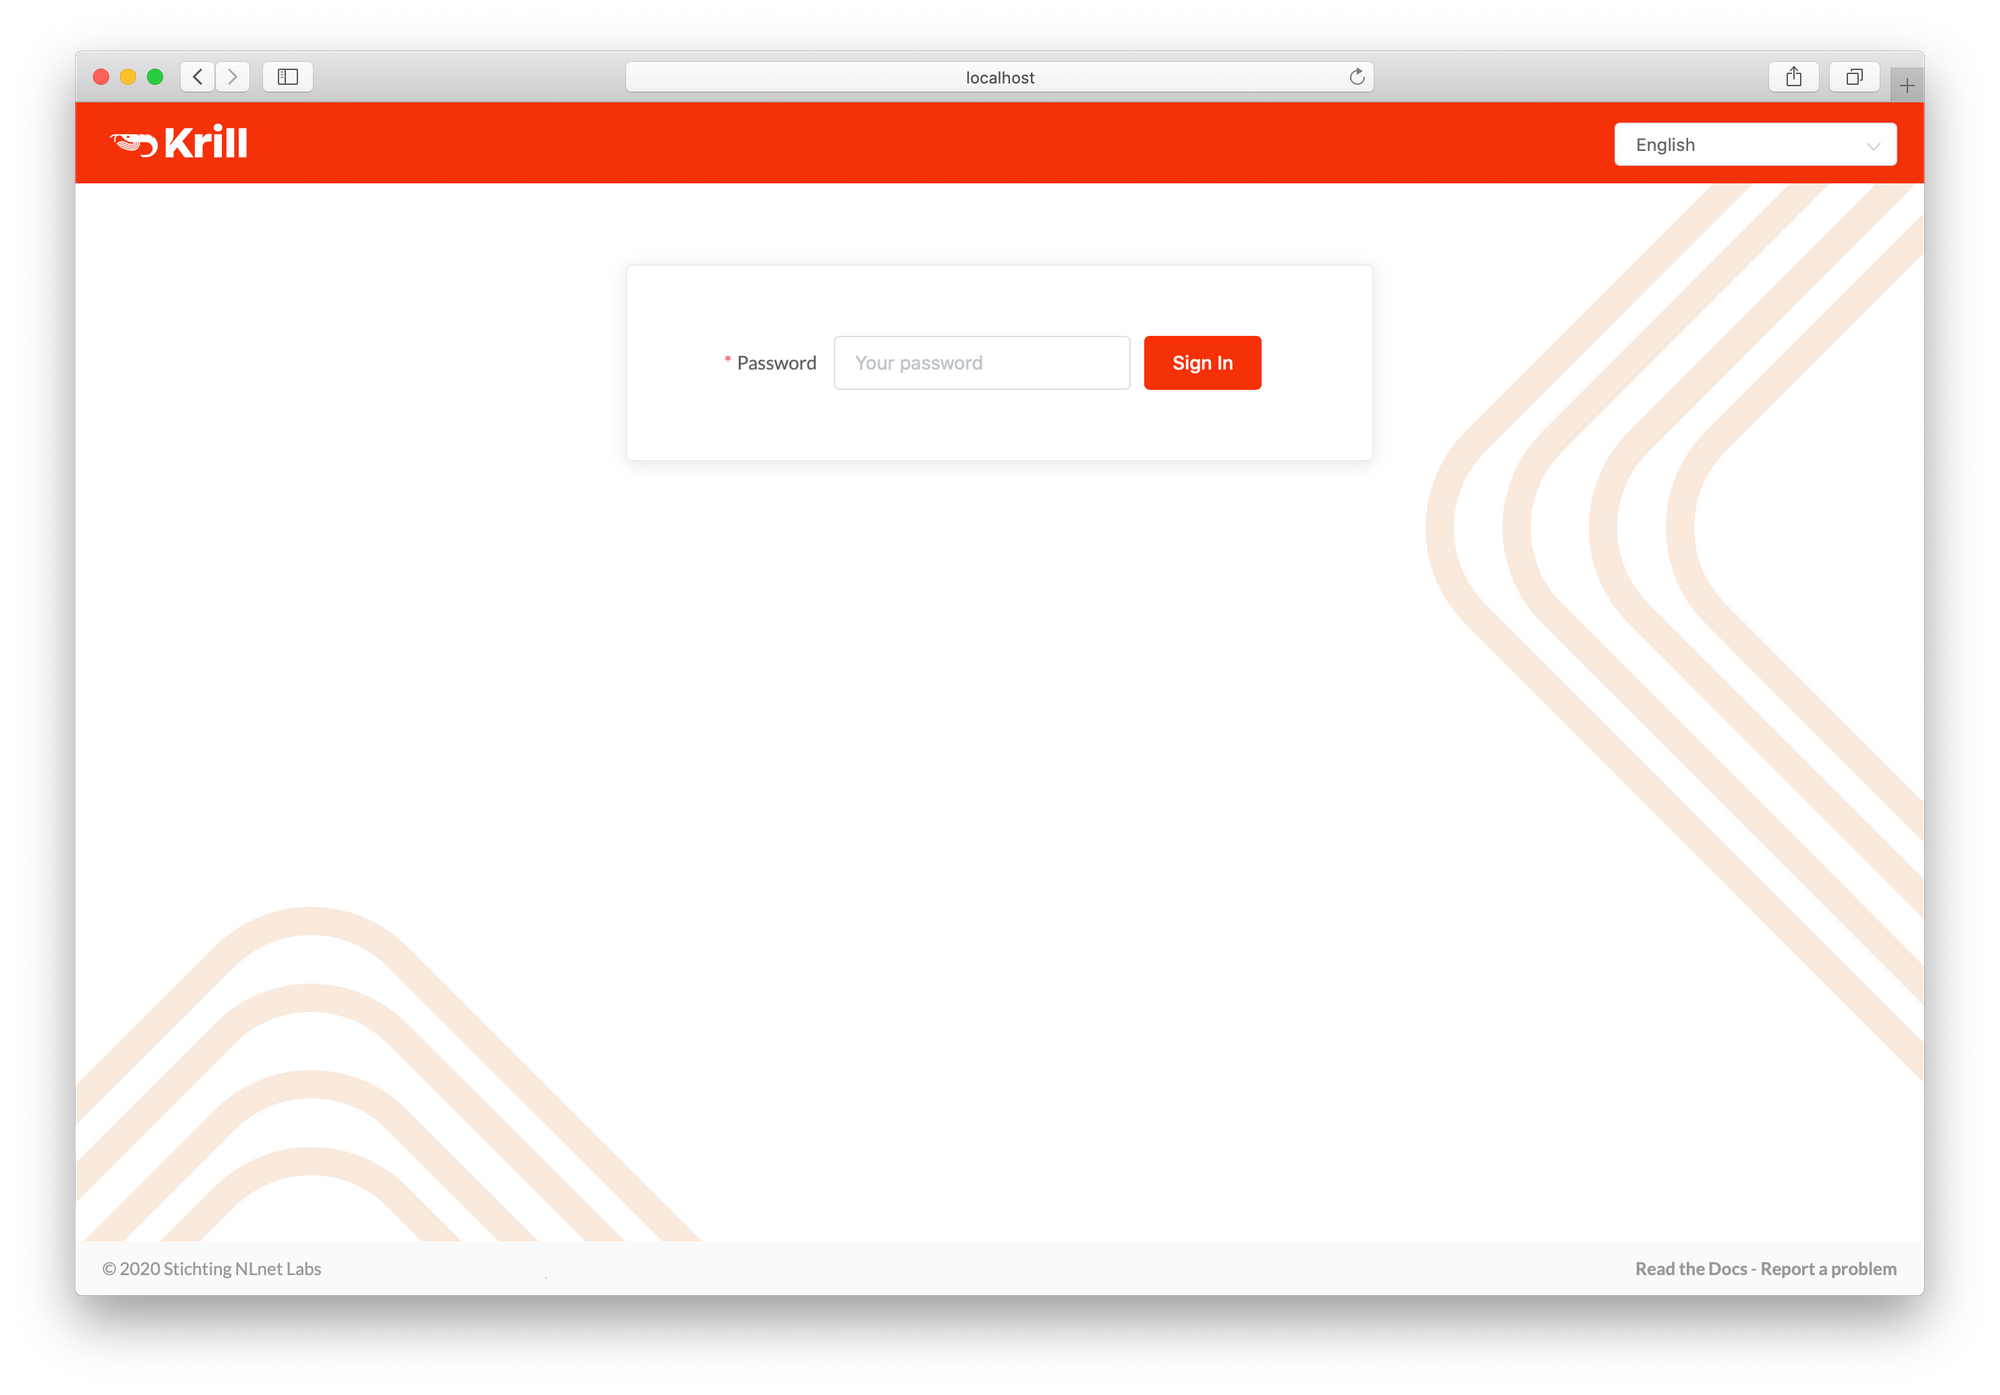
Now that we've confirmed that Krill is working, let's set up NGINX and Certbot and configure it to act as a reverse proxy for Krill with a Let's Encrypt certificate.
Install NGINX and Certbot
Install NGINX using the package manager:
sudo apt install nginxYou can verify that NGINX is running properly by first checking the status:
systemctl status nginxWhen you open a browser and go to your configured domain name or IP on plain HTTP you should be greeted with the familiar welcome screen.
Next we'll install Certbot. As the EFF website strongly recommends we use Snap to install Certbot, we'll follow those steps here. installing Certbot via the Debian package seems fine at the moment but it lags behind so there may be issues if Let’s Encrypt starts requiring new features.If you feel more comfortable using another method you can of course do that too.
First install snapd:
sudo apt install snapdEnsure snapd is up-to-date:
sudo snap install core; sudo snap refresh coreInstall Certbot:
sudo snap install --classic certbotAnd lastly, ensure that Certbot can be run:
sudo ln -s /snap/bin/certbot /usr/bin/certbotConfigure a Reverse Proxy with TLS
Now let's create a minimal server block with the correct directives. This will allow us to run Certbot which will generate all of the other required configuration for us.
There is of course one server block enabled by default. In /var/www/html you'll find the index.nginx-debian.html file that contains the welcome page we've seen earlier. But to have a bit of future proofing for this server, let's create a directory structure within /var/www for krill.example.net, leaving /var/www/html in place.
Create the directory for krill.example.net, using the -p flag to create any necessary parent directories:
sudo mkdir -p /var/www/krill.example.net/htmlAssign ownership of the directory with the $USER environment variable:
sudo chown -R $USER:$USER /var/www/krill.example.net/htmlEnsure your permissions are set correctly:
sudo chmod -R 755 /var/www/krill.example.netAnd lastly, create a little index.html file in /var/www/krill.example.net/html you can use to verify that everything is working later on:
<html>
    <head>
        <title>Welcome to Krill!</title>
    </head>
    <body>
        <h1>Nice! The krill.example.net server block works.</h1>
    </body>
</html>
Now create a simple configuration, making once again sure to use your own domain name, and save it as krill.example.net in /etc/nginx/sites-available/.
server {
        listen 80;
        listen [::]:80;

        root /var/www/krill.example.net/html;
        index index.html index.htm index.nginx-debian.html;

        server_name krill.example.net;

        location / {
                try_files $uri $uri/ =404;
        }
}
Next, enable the server block by creating a link to the sites-enabled directory:
sudo ln -s /etc/nginx/sites-available/krill.example.net /etc/nginx/sites-enabled/
Restart NGINX to enable your changes:
sudo systemctl restart nginxIf you now open a browser and go to your configured domain name, you should see that the server block is working. If you enter the IP address of the server in the address bar, you should still end up at the original NGINX welcome page.
Now it's time to run Certbot to configure a Let's Encrypt TLS certificate for our newly created server block. Run this command to start the wizard:
sudo certbot --nginxAs this is your first time running certbot, you will be prompted to enter an email address and agree to the terms of service. Certbot will detect your configured server block and ask you to set up a certificate for it. When the wizard has run through the challenge and configured your certificate you should be able to visit your configured domain over HTTPS and redirects from plain HTTP should be in place.
The server block configuration file will have been updated, looking something like this:
server {

        root /var/www/krill.example.net/html;
        index index.html index.htm index.nginx-debian.html;

        server_name krill.example.net;

        location / {
                try_files $uri $uri/ =404;
        }

    listen [::]:443 ssl ipv6only=on; # managed by Certbot
    listen 443 ssl; # managed by Certbot
    ssl_certificate /etc/letsencrypt/live/krill.example.net/fullchain.pem; # managed by Certbot
    ssl_certificate_key /etc/letsencrypt/live/krill.example.net/privkey.pem; # managed by Certbot
    include /etc/letsencrypt/options-ssl-nginx.conf; # managed by Certbot
    ssl_dhparam /etc/letsencrypt/ssl-dhparams.pem; # managed by Certbot

}
server {
    if ($host = krill.example.net) {
        return 301 https://$host$request_uri;
    } # managed by Certbot


        listen 80;
        listen [::]:80;

        server_name krill.example.net;
    return 404; # managed by Certbot


}
Next, we'll update this file to act as a reverse proxy, instead of serving the sample HTML file. To do this, we just need to update one line, as the Krill user interface and assets are hosted directly under the base path /:
...
        location / {
                proxy_pass https://localhost:3000/;
        }
...
Test one last time to make sure that there are no syntax errors:
sudo nginx -t
If there aren’t any problems, restart NGINX to enable your changes:
sudo systemctl restart nginxYou should now see the Krill user interface when you visit your configured domain name, properly secured by a Let's Encrypt certificate. To test if renewals will still work even though all traffic is proxied to Krill, run Certbot with --dry-run:
sudo certbot renew --dry-runIf the challenges are successful, you're all set!
Additional Restrictions
Although the UI and API are protected with a token, you could consider further restrictions in your proxy setup, such as locking down the source IP, limiting the number of TCP connections and adding your own authentication.
Lastly, it is recommended to run Krill in a completely closed environment, with no access from the Internet at all. Krill only needs to be able to establish outbound connections to the Internet on port 443 to fetch certificate information from the parent Certificate Authority, i.e. your RIR or NIR, as well as BGP route collector data for ROA suggestions.