Making a Krill Sanctuary

We sometimes hear that people have cold feet when it comes to trying out Krill on the open ocean, so we decided to create a safe and secluded sanctuary. If you just want to run a Krill instance under this environment, then please read "Testing the Waters with Krill". But if you are curious to learn about how we set all of this up, or if you are toying with the idea of creating your own sanctuary, then read on!
Overview
For our server we chose an Ubuntu 20.04 (Focal Fossa) installation on a very small virtual machine in the cloud: 2 GB memory, 1 vCPU, 50 GB local disk space and a redundant block storage volume of 50 GB which we use to keep all Krill data.
Our testbed uses a single Krill instance behind an NGINX proxy, to host our Trust Anchor (TA), our ‘testbed’ Certification Authority (CA) which acts as an RFC 6492 enabled parent to (remote) test CAs, and our RFC 8181 enabled Publication Server.
We use a helper tool we developed, called Krillsync, to synchronise the RPKI repository content to dedicated directories. This content is served by NGINX in case of RRDP (using HTTPS), and we rely on the Ubuntu rsync package for rsyncd.
Install NGINX and Let's Encrypt
Even though Krill features an embedded web server and generates a self-signed certificate when it is first started, publicly accessible installations should use a dedicated proxy and a proper HTTPS certificate.
Therefore we decided that we will use NGINX and Let's Encrypt for safe and efficient access to our Krill user interface and API, as well as our RRDP repository data and Trust Anchor resources.
We did this part of the setup before installing and running Krill, because our testbed is public, and this means that even though our 'ta', 'testbed' and 'Publication Server' run in the same Krill instance, they will connect to each other over the public RFC 6492 and RFC 8181 end-points. In other words, this will only work if the proxy is running.
So, first we installed nginx:
sudo apt install nginx
Then we removed /etc/nginx/sites-enabled/default and added our own /etc/nginx/sites-enabled/testbed.krill.cloud configuration file with the following content:
server {
  server_name testbed.krill.cloud;
  client_max_body_size 100M;

  # Add some URI support for running a public testbed page

  # Permanently redirect users to the *unauthenticated* testbed
  # signup page where they can add their CA as a child and publisher
  if ($request_uri = "/") {
    return 301 https://testbed.krill.cloud/index.html#/testbed;
  }
  # Rewrite the TAL URI used on the testbed page to the real file.
  rewrite ^/testbed.tal$ /ta/ta.tal;


  # Maps to the base directory where krill-sync stores RRDP files.
  location /rrdp {
     root /var/lib/krill-sync/;
  }

  # Maps to the base directory where we copy the TA certificate and TAL.
  location /ta {
     root /mnt/volume_ams3_03/repository/;
  }

  # All other requests go to the krill backend.
  location / {
    proxy_pass https://localhost:3000/;
  }

  listen 80;
}
Then we restarted NGINX:
sudo systemctl restart nginxWe did not configure anything for HTTPS yet, because — conveniently — Certbot will offer to do this for us:
sudo apt install certbot
sudo apt install python3-certbot-nginx
sudo certbot --nginx
Then we added the following to the crontab of root:
# Automate Let's Encrypt certificate renewals
0 12 * * * /usr/bin/certbot renew --quiet
Add NLnet Labs Package Sources
At NLnet Labs, we build Krill packages for amd64/x86_64 architecture running a recent Debian or Ubuntu distribution, as well as Red Hat Enterprise Linux/CentOS 7 or 8. In order to make these packages available to our system we created the file /etc/apt/sources.list.d/nlnetlabs.list with the following content:
deb https://packages.nlnetlabs.nl/linux/ubuntu/ focal main
deb https://packages.nlnetlabs.nl/linux/ubuntu/ focal-proposed main
As you can see we added the sources for ‘main’, as well as ‘proposed’. Normally one would not use the latter, but in our case we specifically wanted to be able to install and test release candidates in this environment as part of our release process.
Then we added the NLnet Labs key and updated apt:
wget -qO- https://packages.nlnetlabs.nl/aptkey.asc | sudo apt-key add -
sudo apt update
Install and Configure Krill with Testbed Support
After adding the NLnet Labs package source we simply installed the latest Krill release candidate binary, from the proposed source which we included:
sudo apt install krill
After installing Krill, and before running it, we replaced the generated config file at /etc/krill.conf. We stripped all comments and defaults that we are not using. Other than that we made sure that we are using a public URI for service_uri, and we added a [testbed] section. Have a look at a copy of our actual configuration file, well... except for admin_token which we did not feel like sharing here:
###########################################################
#                                                         #
#                       DATA                              #
#                                                         #
###########################################################

# We use the default data_dir used by the debian package.
data_dir = "/var/lib/krill/data/"

###########################################################
#                                                         #
#                      LOGGING                            #
#                                                         #
###########################################################

# We will use syslog and the default log level (warn):
log_type = "syslog"
### log_level = "warn"
### syslog_facility = "daemon"

###########################################################
#                                                         #
#                       ACCESS                            #
#                                                         #
###########################################################

# Admin Token
#
# We use an admin token, rather than multi-user support. We
# will use the CLI as the primary way to manage this server,
# and we like to keep things simple.
admin_token = "do-not-overshare"

# Service URI
#
# We will use the public (base) URI for our (nginx) proxy, so
# that remote CAs can connect to our testbed.
service_uri = "https://testbed.krill.cloud/"

###########################################################
#                                                         #
#                  TESTBED SETTINGS                       #
#                                                         #
###########################################################

[testbed]
# RRDP BASE URI
#
# Set the base RRDP uri for the repository server.
rrdp_base_uri = "https://testbed.krill.cloud/rrdp/"

# RSYNC BASE URI
#
# Set the base rsync URI (jail) for the repository server.
rsync_jail = "rsync://testbed.krill.cloud/repo/"

# TA URI
#
# Define the TA certificate HTTPS URI for the TAL.
ta_uri = "https://testbed.krill.cloud/ta/ta.cer"

# TA AIA
#
# Define the TA certificate rsync URI for the TAL.
ta_aia = "rsync://testbed.krill.cloud/ta/ta.cer"
Remember that we decided to use a separate block storage for the data directory? Rather than changing the default data directory /var/lib/krill/data, we decided to use a symlink instead:
mkdir /mnt/volume_ams3_03/krill-data
chown krill. /mnt/volume_ams3_03/krill-data/
cd /var/lib/krill
ln -s /mnt/volume_ams3_03/krill-data ./data
IMPORTANT: There is one more thing that we needed to do before we could start krill. The default systemd unit file limits write access to the default data directory. Since we are using a different location we need to create the following override file. The easiest way to achieve this is by using systemctl edit krill and adding the following:
[Service]
ReadWritePaths=/mnt/volume_ams3_03/krill-data/
After doing this we enabled Krill in systemd, and reviewed the syslog messages to see that all is good:
systemctl enable --now krill
journalctl -u krill
Test the Krill CLI
In order to use the Krill CLI krillc more easily we added the auto-generated value of the admin_token directive in our krill configuration file to our profile:
export KRILL_CLI_TOKEN=”do-not-overshare”
We can then see that Krill has started, and we can connect to it from the local machine using krillc info
Version: 0.9.3-rc3
Started: 2021-11-24T14:27:42+00:00
Prepare TA Certificate and TAL
Krill testbeds include their own Trust Anchor, and therefore we need to copy over the trust anchor certificate and trust anchor locator (TAL) file, so we can make them available to Relying Parties, otherwise known as RPKI validators. We made a directory which can be served by NGINX and rsyncd (more on this later), and retrieve the files directly from Krill, bypassing the proxy:
mkdir /mnt/volume_ams3_03/repository/ta
cd /mnt/volume_ams3_03/repository/ta
curl --insecure https://localhost:3000/ta/ta.tal --output ta.tal
curl --insecure https://localhost:3000/ta/ta.cer --output ta.cer
Then we checked that we the TAL file can be downloaded through the proxy:
https://testbed.krill.cloud/ta/ta.cer
rsync://testbed.krill.cloud/ta/ta.cer

MIIBIjANBgkqhkiG9w0BAQEFAAOCAQ8AMIIBCgKCAQEAynd/0v3yEWtKna2rXacb
JZHJtQyepSMGmWSusxEBIvKcXEUrxLFHsB11Fvqq3YIhtDMyO1mWKkK/G4Dggd5/
GCJH030haZVHwdmB4MH4V9GLnOcWkX8Vf1/nbhXRawJeD/Ys/DyV0MD9sb9CRt69
uCNysDYYln1n4/1emMvLciEMb6MctCvvdv4WPN+0XENMNH6wRLK7VeKZRPR+LIWa
8rcrVSDlPyCeeeM56MFByhUD+eRx8KZNTSJbbnblgF1M94kL9/iRY/Q8h+Kl2MLk
SMDKd3LuvYP4vhkr7SrBICjM5V2nnujFXsq8yxJcUQQpHKLed2WSelZorj6F4bPb
bwIDAQAB
Install and Configure Krillsync
Krillsync is a tool that we developed at NLnet Labs specifically to help scaling up the RPKI Repository to potentially multiple RRDP (https) and rsync servers.
In this current setup we run Krill, NGINX and rsync on a single node. We could simply serve the RRDP content through Krill, and the rsync content from Krill's data directory. However, we still chose to install Krillsync because it will allow us to restart Krill without impacting our repository, and to leverage the improved support for rsync directories in Krillsync:
apt install krill-sync

cd /var/lib/krill-sync
mkdir -p /mnt/volume_ams3_03/repository/rrdp
chown krillsync. /mnt/volume_ams3_03/repository/rrdp
ln -s /mnt/volume_ams3_03/repository/rrdp

mkdir -p /mnt/volume_ams3_03/repository/rsync
chown krillsync. /mnt/volume_ams3_03/repository/rsync
ln -s /mnt/volume_ams3_03/repository/rsync
Because we run the krill-sync binary on the same machine as our Publication Server, we opted to map source_uri_base to the location on disk where Krill saves the RRDP files it generates - rather than going through its web server:
krill-sync https://testbed.krill.cloud/rrdp/notification.xml \
    --source_uri_base /var/lib/krill/data/repo/rrdp/
After checking that this worked properly we set up the krillsync user crontab to run it every minute. Synchronisation is cheap to run and will not update anything if there are no changes at the source.
Configure rsyncd
After we did the set up for krill-sync we configured and enabled rsyncd to serve two "modules", one for our the Trust Anchor certificate, and one for the normal RPKI repository content. We created /etc/ryncd.conf as follows:
uid = nobody
gid = nogroup
max connections = 50

[repo]
path = /var/lib/krill-sync/rsync/current/
comment = RPKI repository
read only = yes

[ta]
path = /mnt/volume_ams3_03/repository/ta/
comment = Testbed Trust Anchor
read only = yes
And then enabled the rsync service:
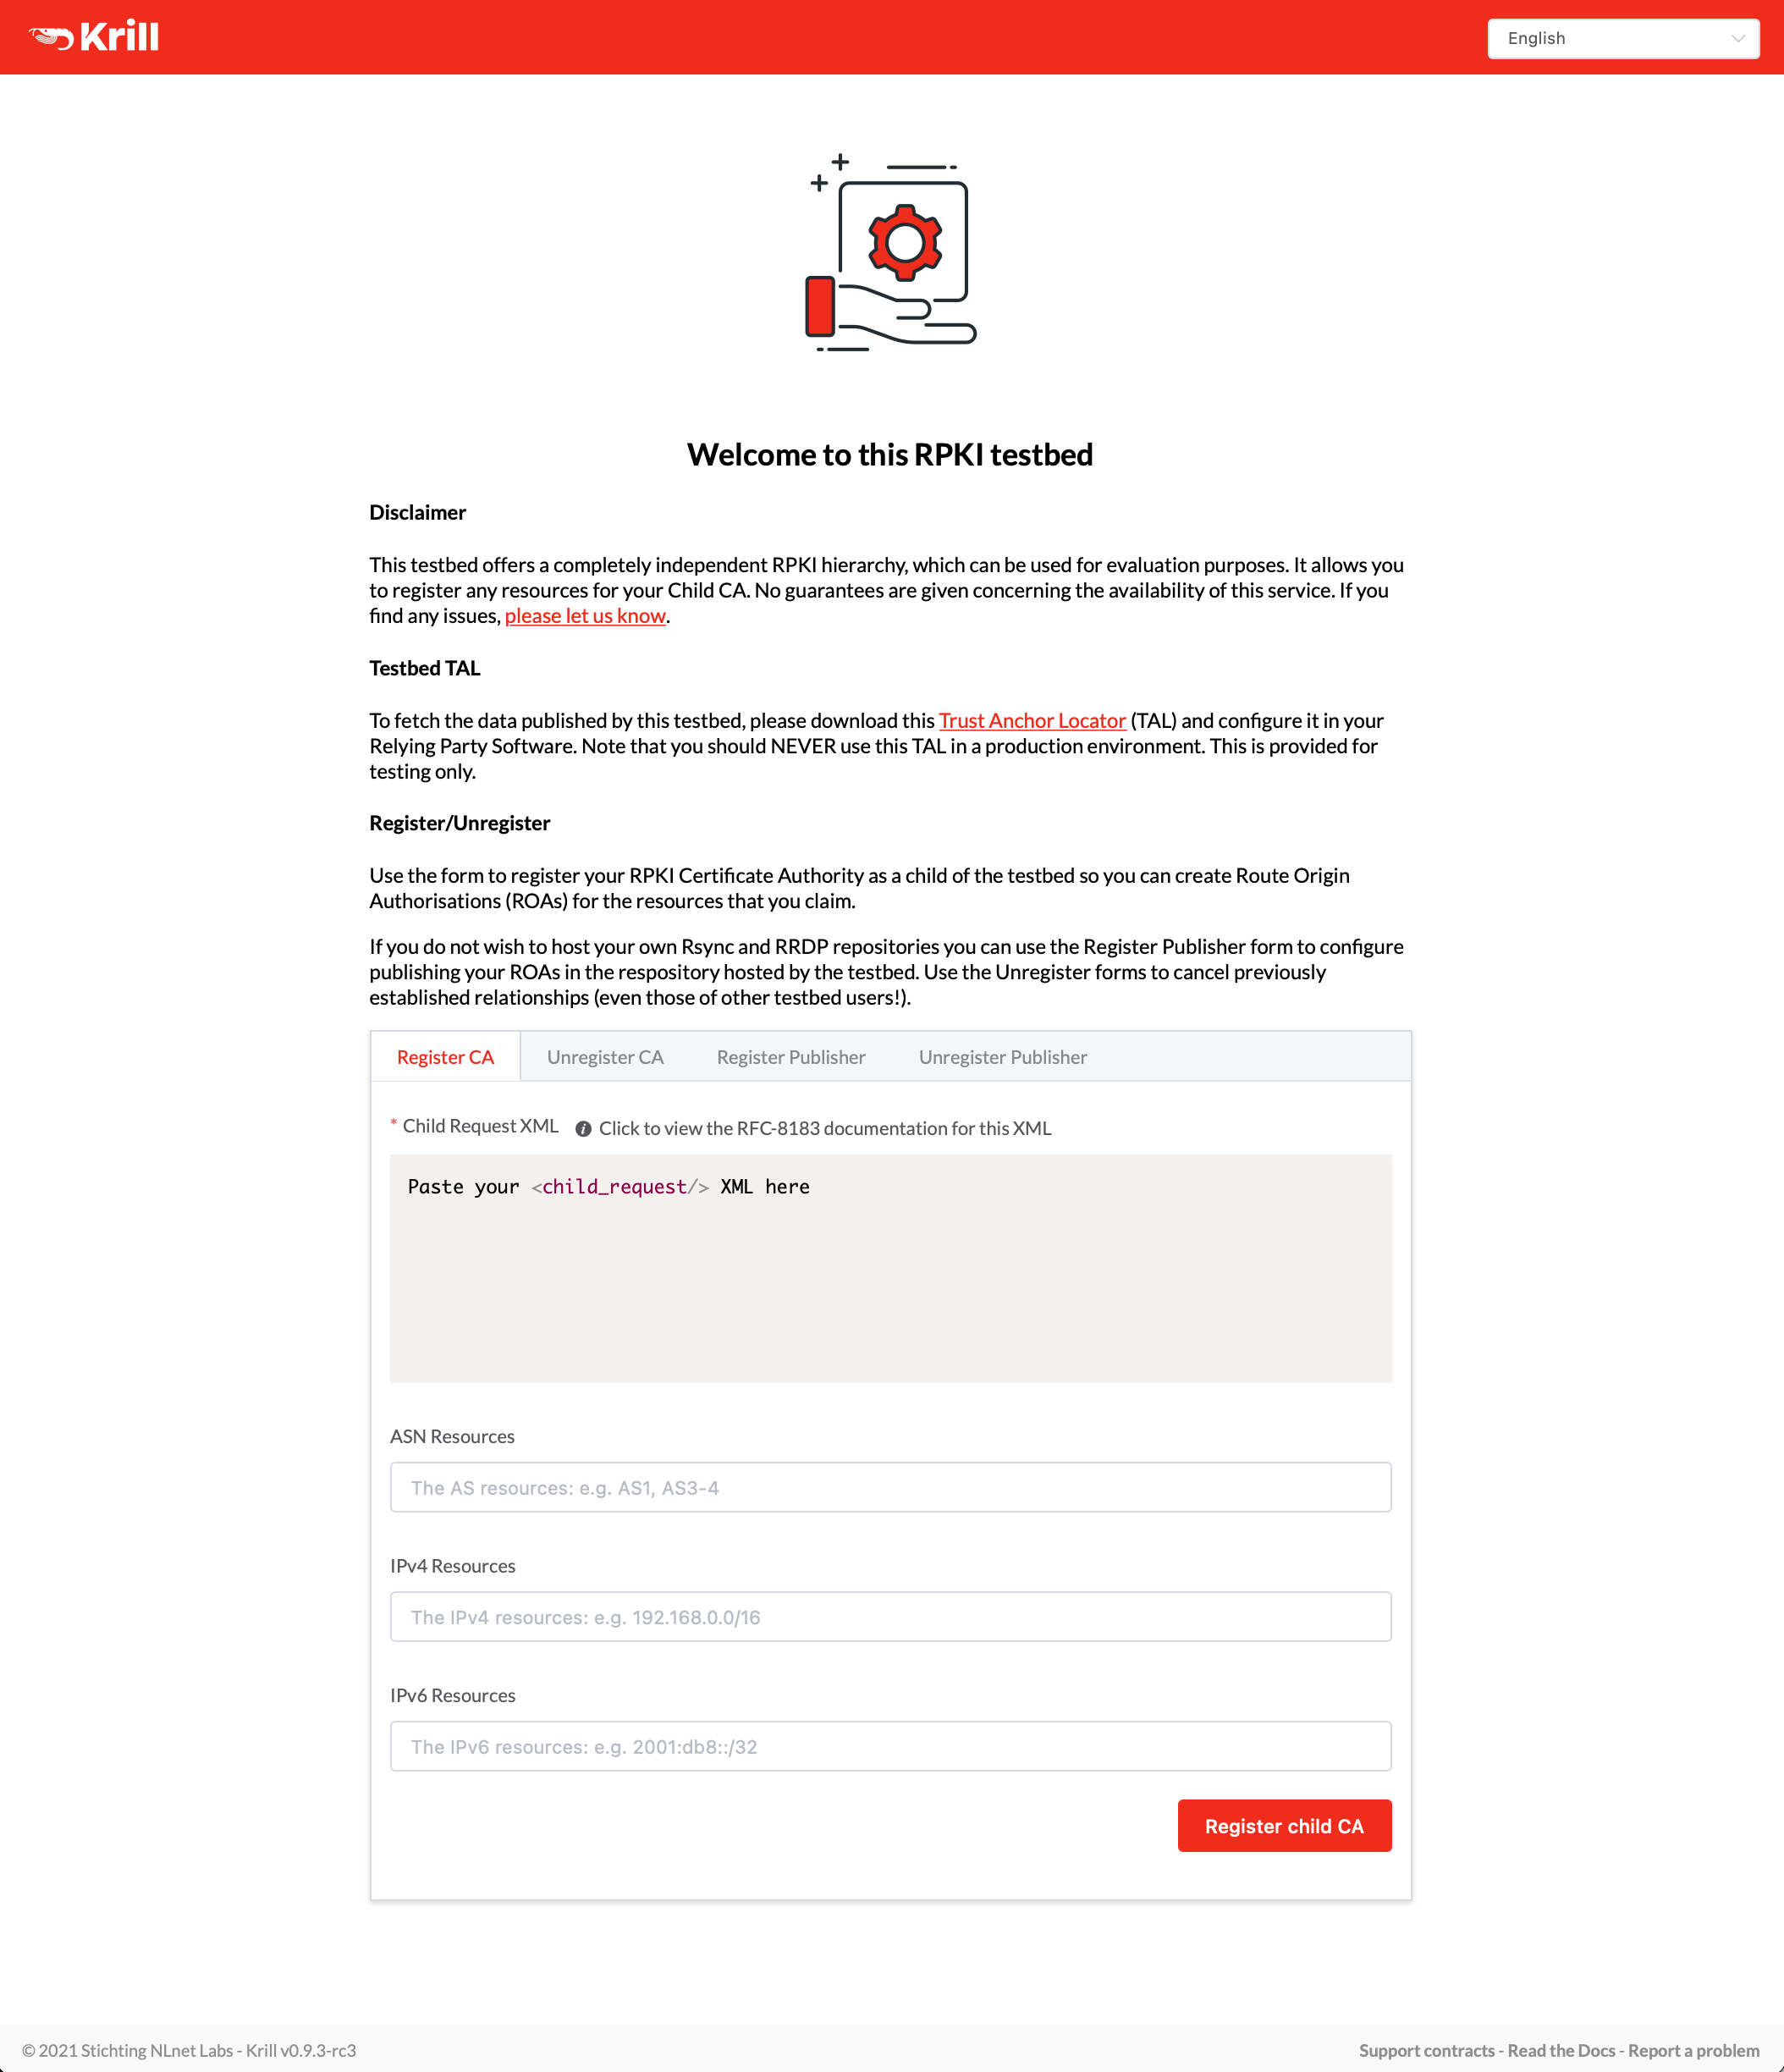
systemctl enable --now rsyncAnd that was it really.. all that we left for us to do was double check that we could go to https://testbed.krill.cloud/ and set up a test CA: